Tutorial: Wax Seals
Because nothing complement dip pen calligraphy more than a bespoke wax stamp! It's the perfect old-world touch to your envelope, styling, packaging or branding. My obsession with wax seals can only be match with my love of vintage stamps (and possible some Silk and Willow goodies). Since you guys asked for it, here's a post dedicated for wax seals! I'll be going over the ingredients to create those wax seals, how to create the perfect seals, and where to put this in practice!
Ingredients
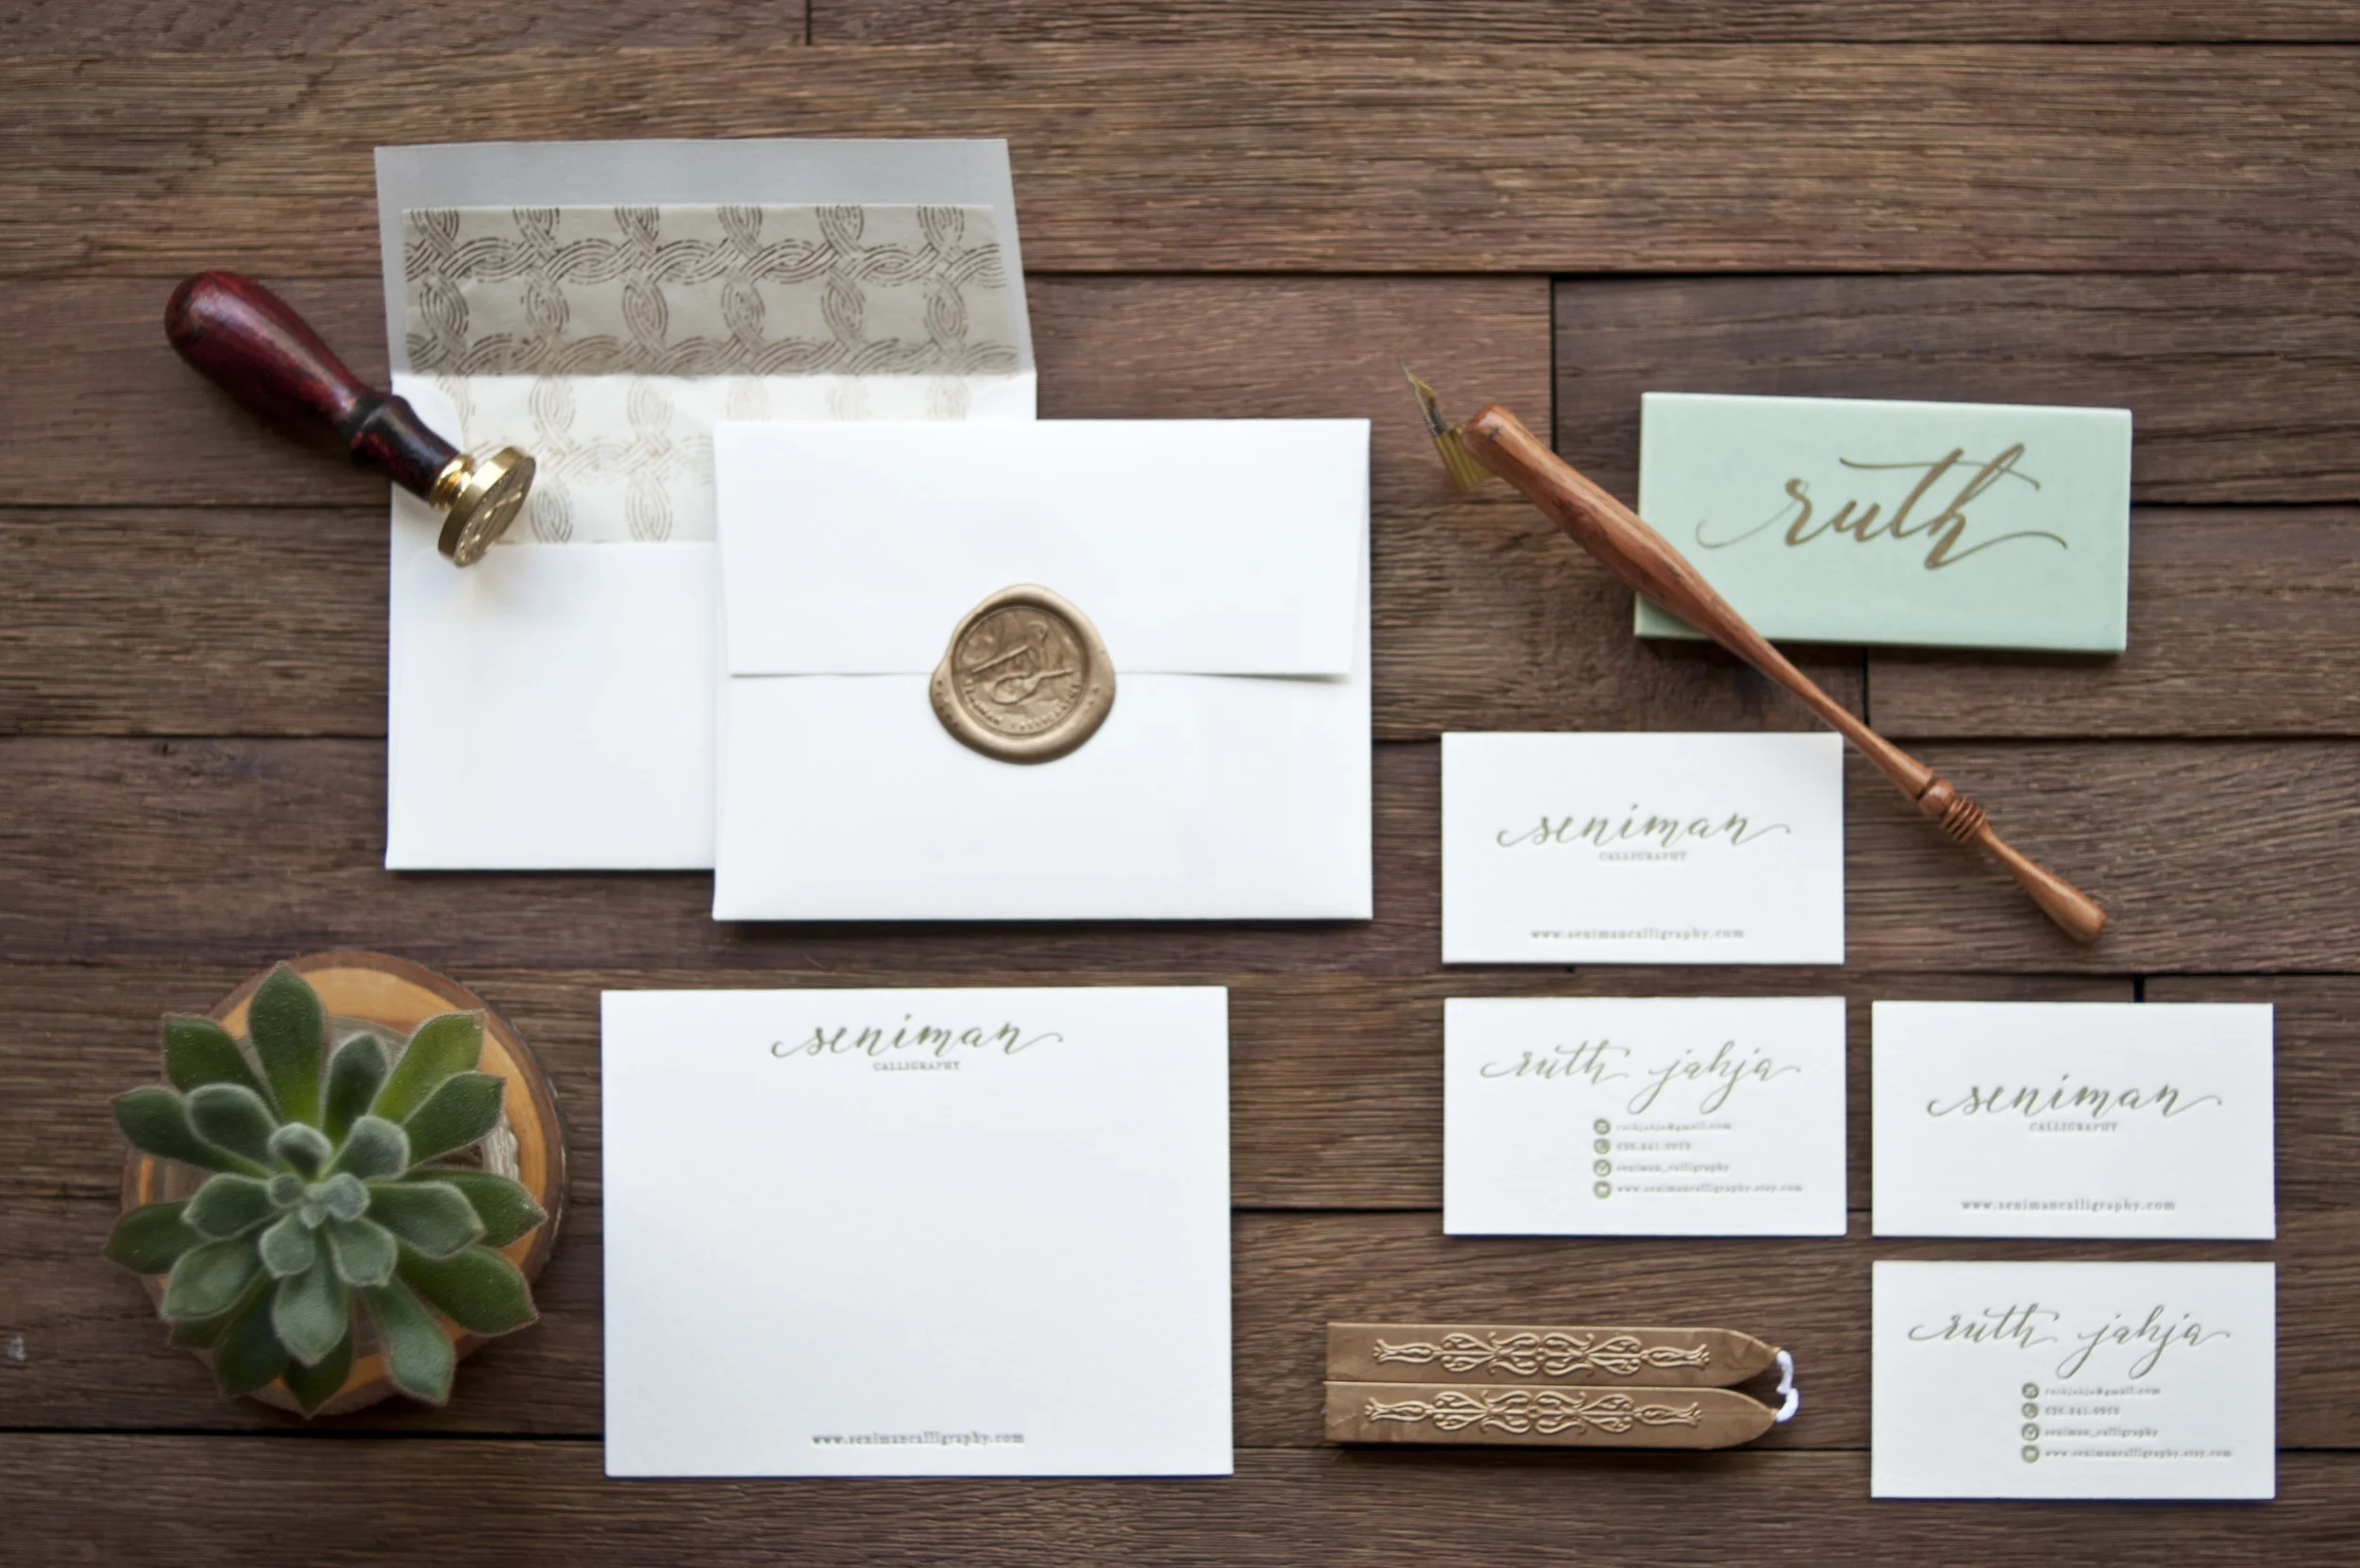
There are two main ingredients needed to create your seals, melted wax and the metal stamp. The wax come in many colors (gold is my favorite), different formulas, various way to apply them, and there's even scented sealing wax! In terms of formulas, you can separate the wax into two main category; a flexible wax that can be use for mailing purpose or a rigid wax such as king wax that break easily and can only be use for decorative purposes. Make sure to double check which kind of wax your purchasing especially if you want to use them for mailing.
The wax itself comes in many form and shapes. Most commonly, they come in stick with or without wick. They also come as glue gun insert and small beads. The regular stick wax works best for very small projects while the glue gun and beads works much better for medium or large projects. I'll go over how to use each of them later but I got mine from Nostalgic Impression.
Now, as for the stamps itself, I got mine from Stamptitude because they have excellent quality with extremely fair price for custom stamps. All you need is the vector base of the design you want, and voila! You have a special branding stamp just for you. If you don't have custom stamps, you can still purchase a ready made designs from them. And yes, we collaborate to bring my wax seal designs to you. That's why some of their product image looks familiar ;)
Puuuuuurfect...! Gorgeous photo by Tenth and Grace.
Making The Perfect Seals
To get the perfect waxseals, you want to pour enough of the properly melted wax into the surface and press your metal stamps properly. Few things to keep in mind when pouring, different size of stamps will require different amount of wax so you will need to adjust them accordingly. For my first few hundred stamps, I trace the outline of the metal stamp on the surface. This way I know for sure if I have enough wax to create the perfect stamp! As for the stamp, I like to create a small mark to indicate the "north" of the stamp designs with permanent marker or ink. Save me lots of time from making sure I have a correct alignment because I have those round wooden handles!
If you remember earlier, I mentioned that the wax come in many different shapes and forms. Any sticks that come with wick have a pretty straight forward application; light the wick, tilt them and regularly rotate the stick to drip the melted wax, blow it of once you have enough wax to create a seal, and press the stamp properly. This application is best when you only need to make one or two seals. Since you're burning the stick to melt the wax, some of the soot will be visible when you use lighter color.
Next is if you have a stick that doesn't have any wick. There are a few way to melt the stick depending on how many stamps you need to make. The first option is to melt the stick using another heat source directly with gas lighter. Second, you can heat a spoon on top of a candle to melt the wax and pour them directly. And glue gun wax stamp is very self-explanatory too!
Another type of wax I use all the time is the beaded wax. Basically they come in small little beads and you melt them in some sort of burner. I got mine from Nostalgic Impression. Per their recommendations, I lined my burner with aluminum foil for easy cleaning. I use their tiny spoons that provide surprisingly just enough wax for one seal! They take a while to melt properly, but it allowed me to do multiple seals at once consistently.
And now, all the fun projects you can do :D
Wax Seal Projects
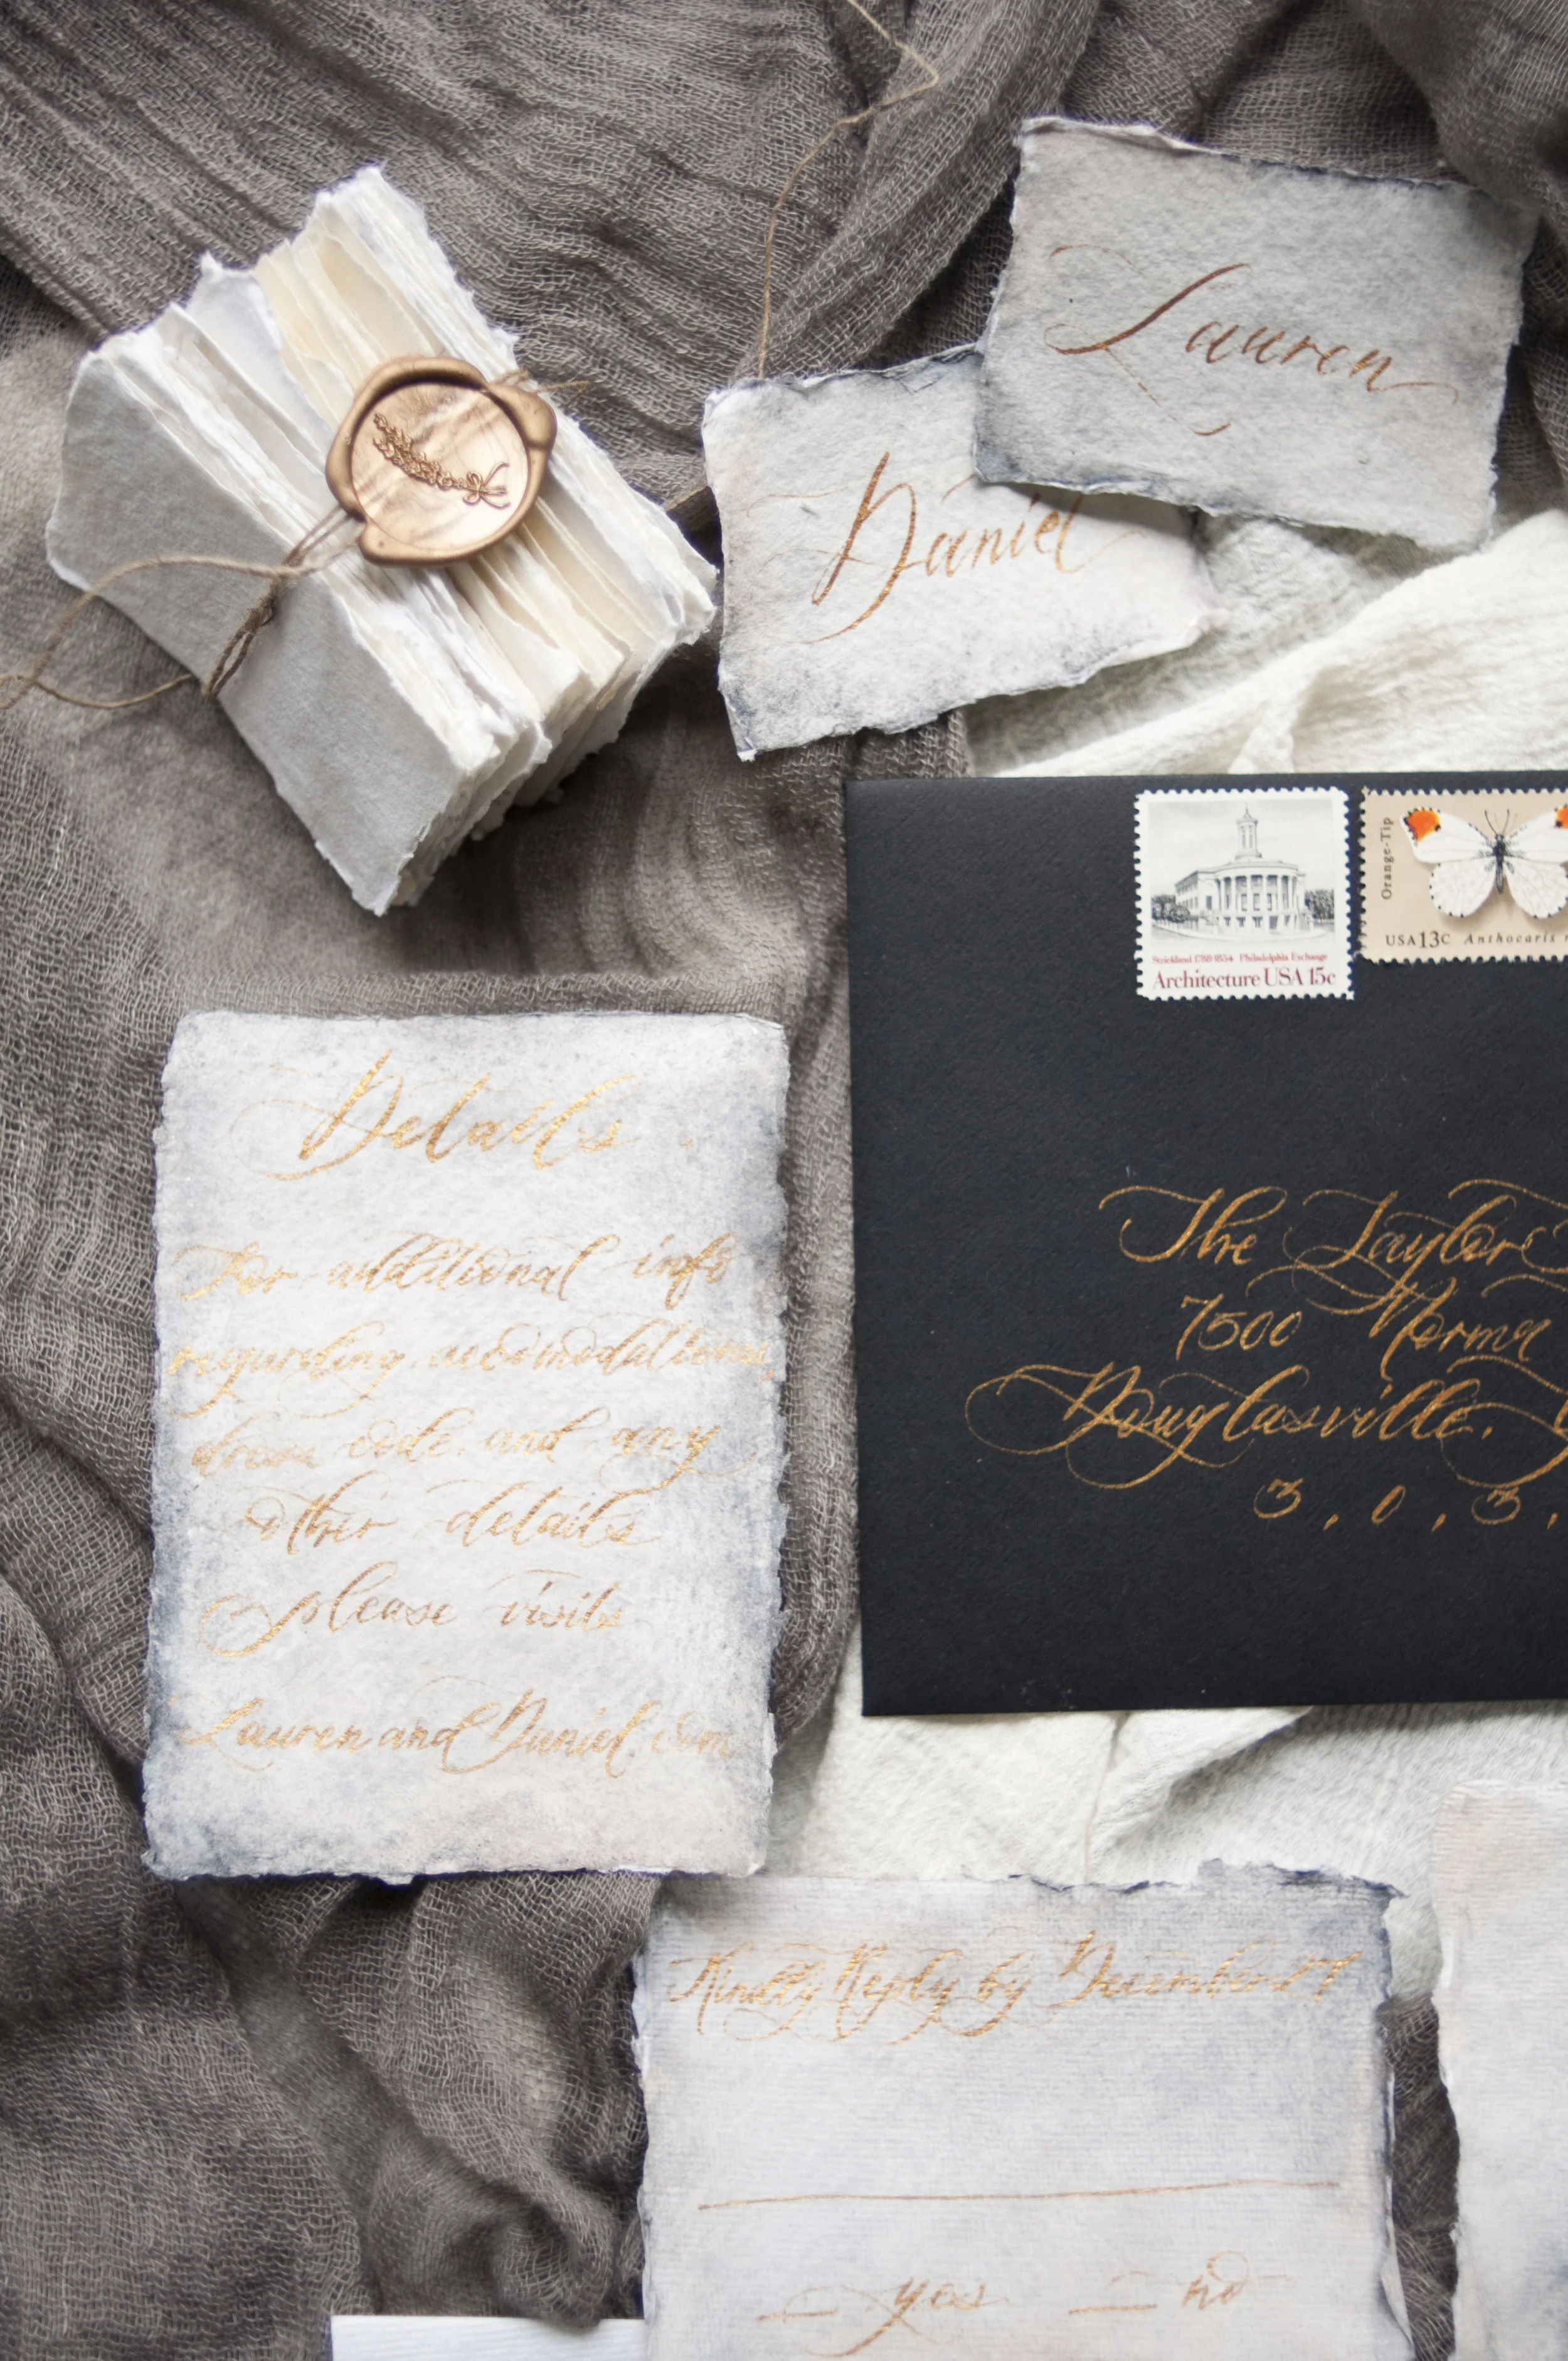
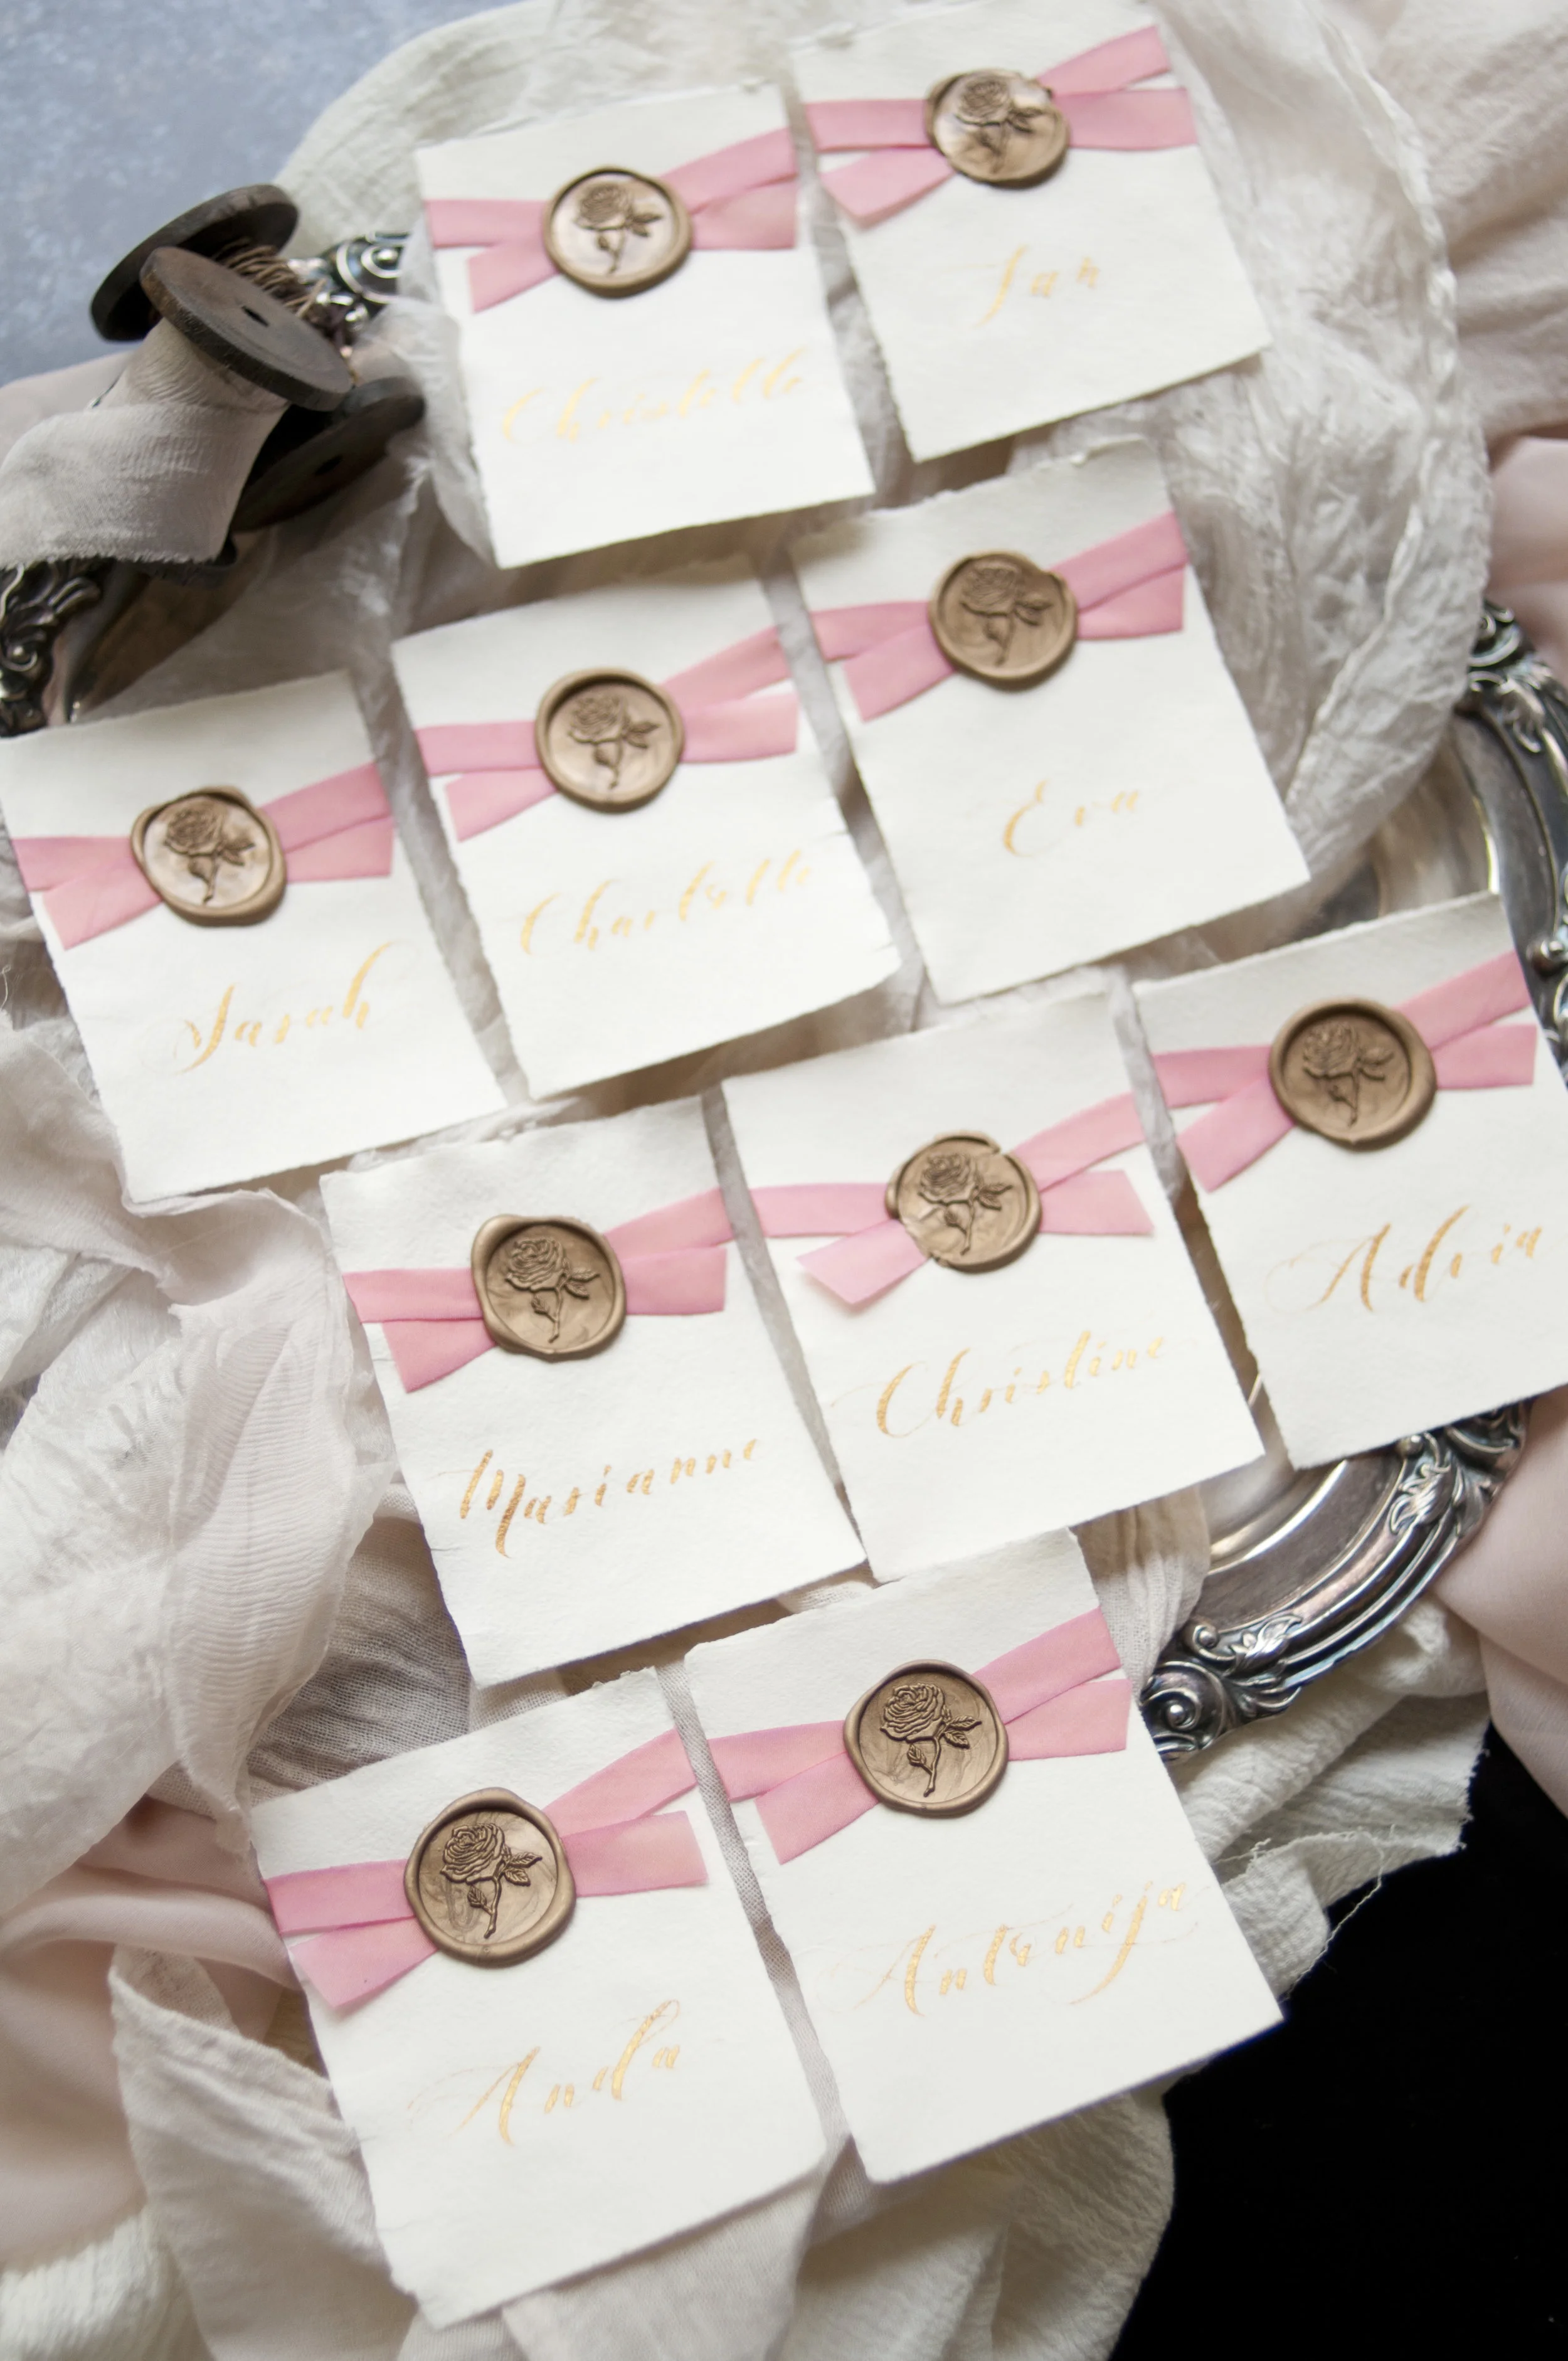
At first, I use my custom wax stamp exclusively to seal my correspondence. Then, I use them to seal Christmas presents and product packaging. It's also super fun to embellished my custom order escort cards with some wax seals like shows above! And some of my most favorite, using them as part of my stuffing services with twine, thread, or beautiful silk ribbon!
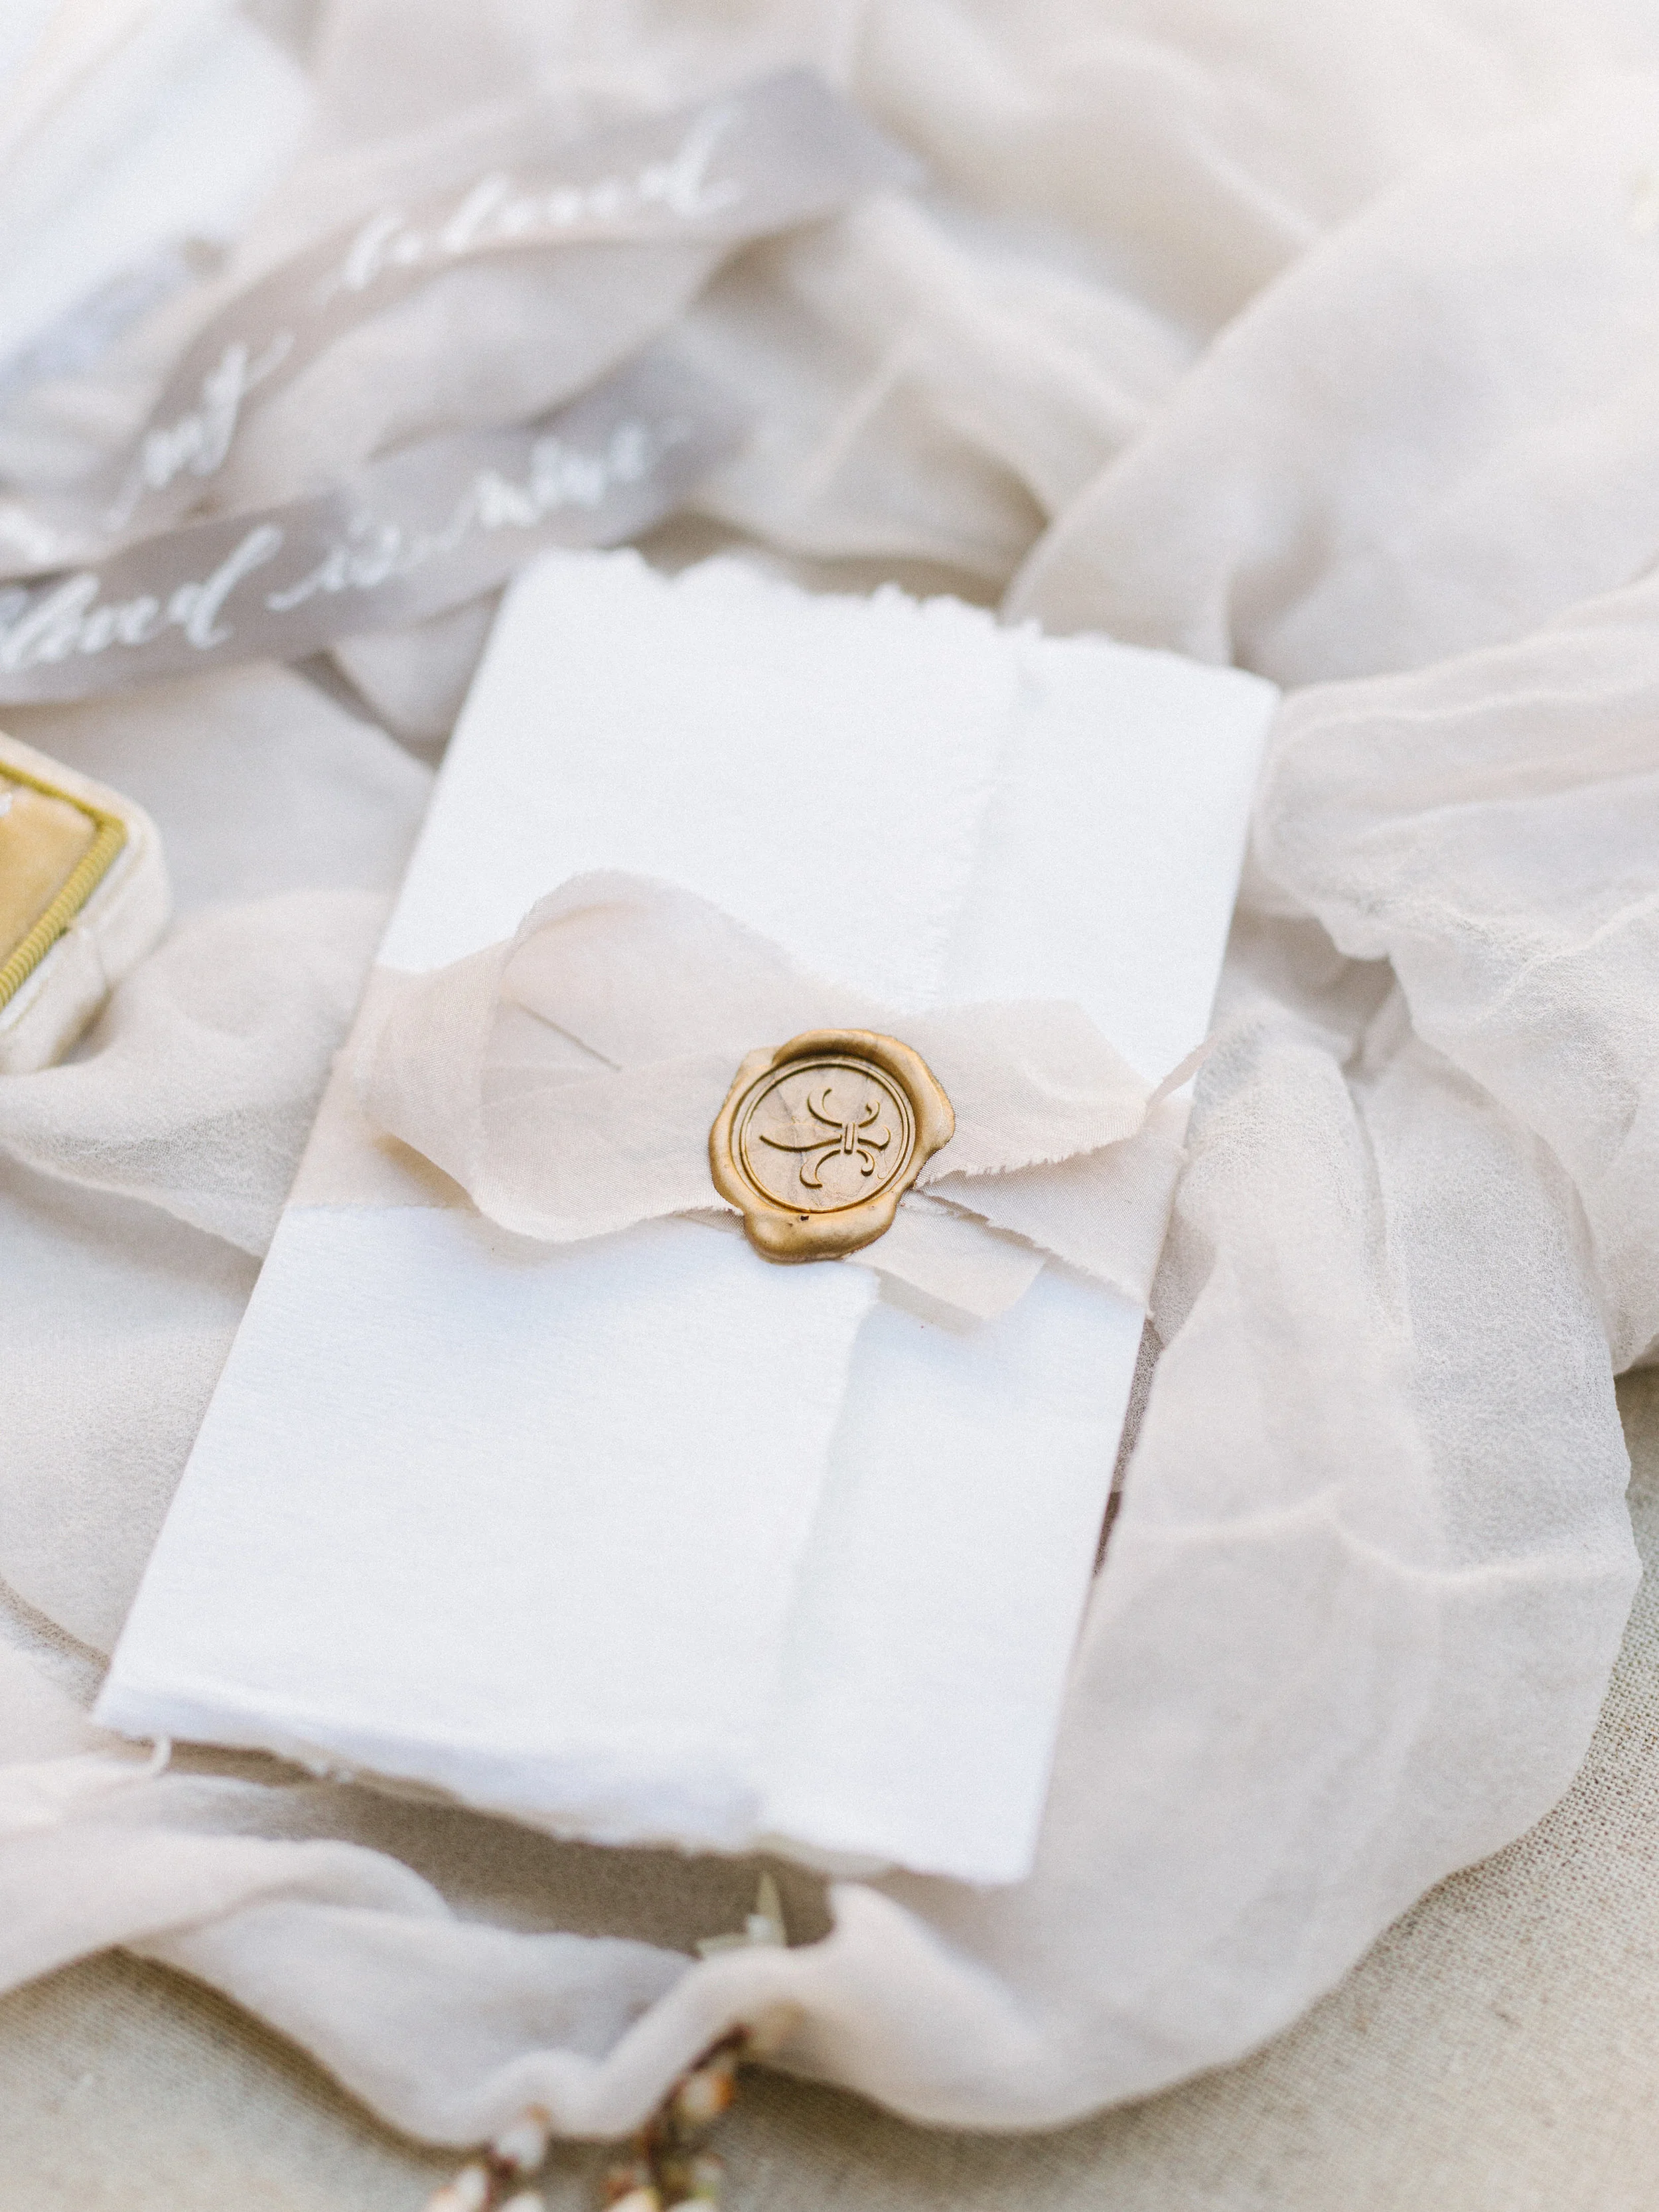
They're very straight forward to use for the permanent applications; hold the ribbon/twine/thread in place, pour the melted wax, press your stamp, and you're done! To do invitation suite wax seals without damaging the actual paper however, you need to do something more. You want to protect the actual paper goods below, so you want to place something in between your seal and your paper goods. This "protection" sheet will eventually be removed so you want something that won't stick to the paper and don't leave any mark/residue. I use the backing of my label sticker (which I have plenty), cut them up to slightly bigger than my wax seal (better safe than sorry), make sure the glossy part is face up, hold everything in place, then do the seal! You can use baking sheet with some regular paper below or some aluminum foil too! And that's how I get this pretty wax stamps on my suite without ruining the actual paper!!
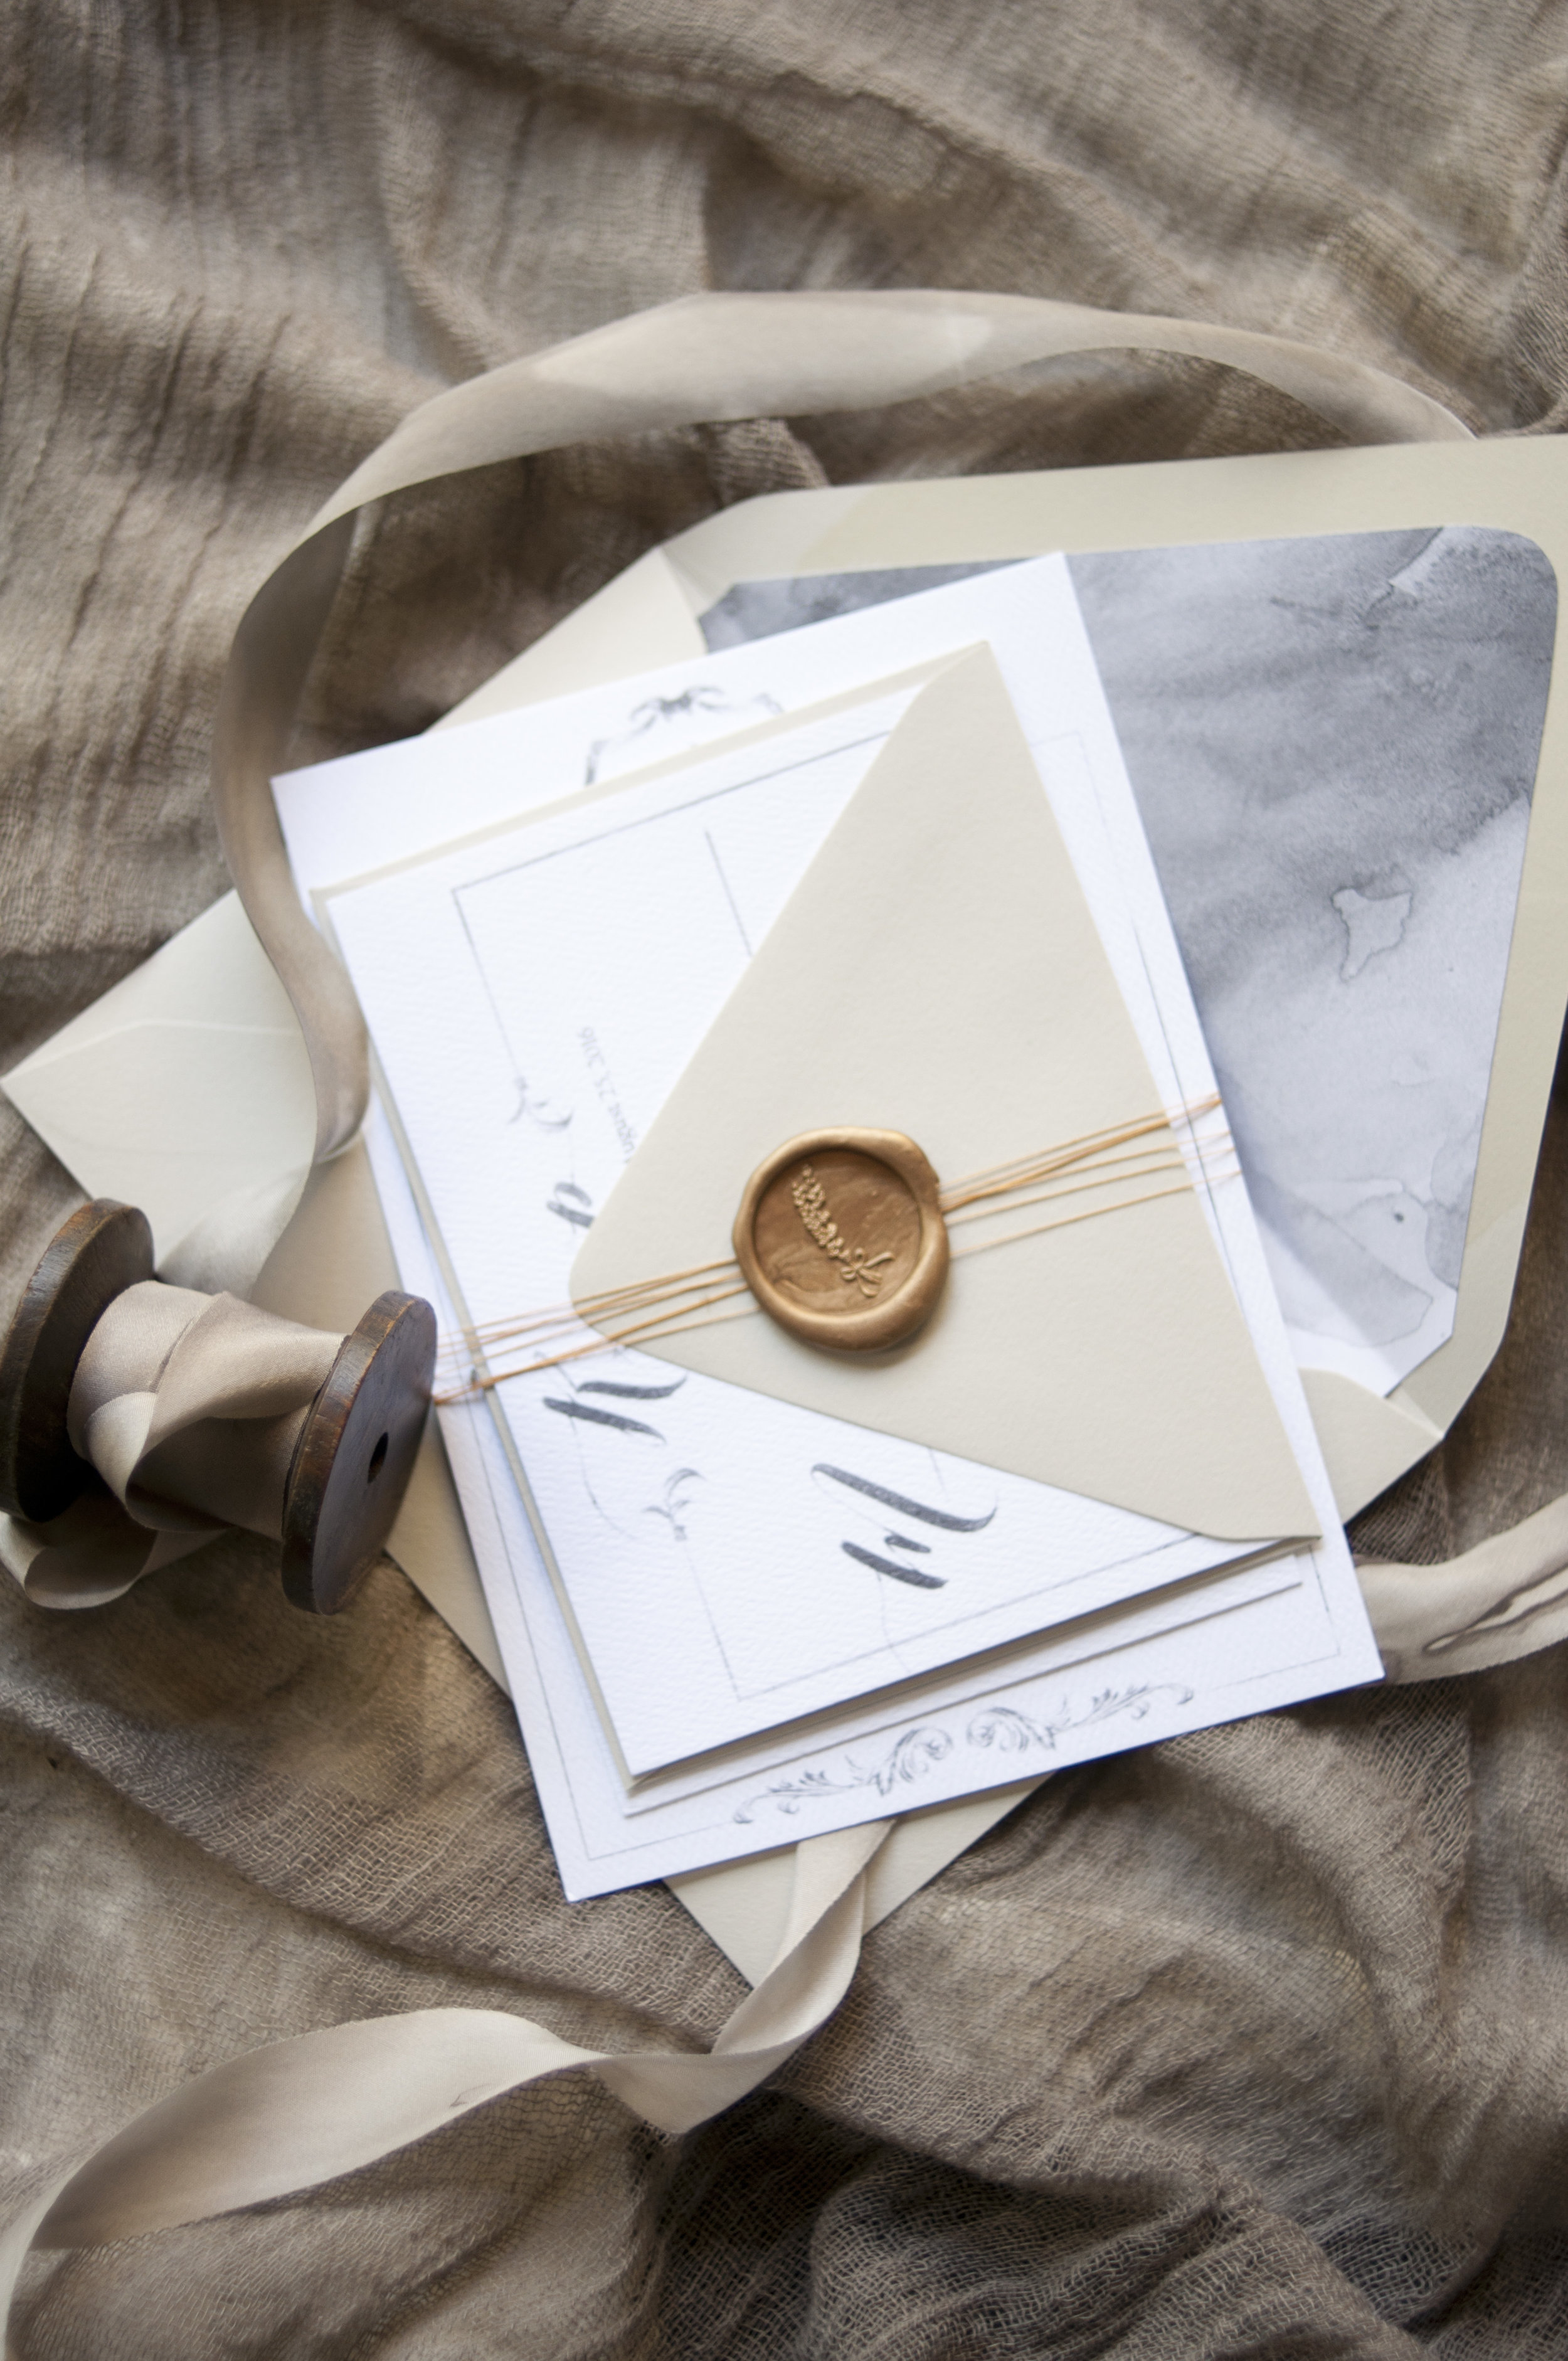
Tadaaa...!! And here's the finish product!!
Lastly, keep in mind that wax have a pretty low melting point. They can be delicate especially when stored improperly! I made a mistake of leaving a set of handmade suite in my car, under the summer heat, for a couple of hours. By the time I checked, the wax was basically cracked, lost it sheen, and left an oily residue on other envelopes due to the extreme heat!!! So if you're using a wax seals for your events, make sure to store the finish products in shaded and cool area, far far away from direct sunlight. If you're shipping commission projects with wax seals, ask for signature delivery so the mailman don't left your package in direct sunlight!
That's it you guys..!!! I hope you guys can have lot's of fun with your future wax seals projects!
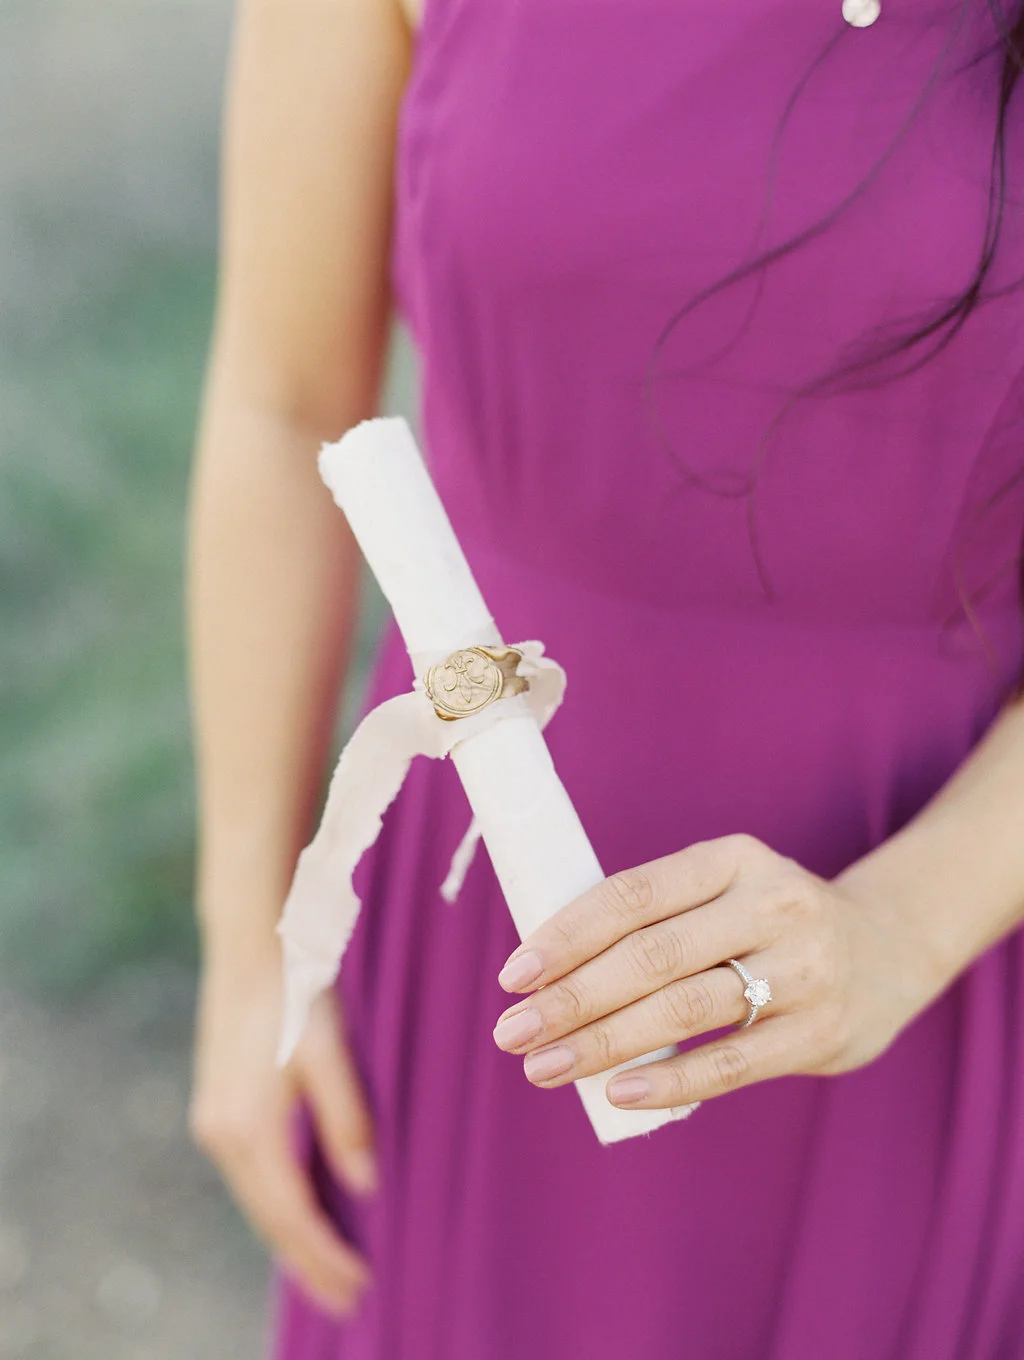
Because you can use them to create pretty scrolls like this! It was a commission props for Jacquie's engagement shoot! Photography by Diana McGregor